
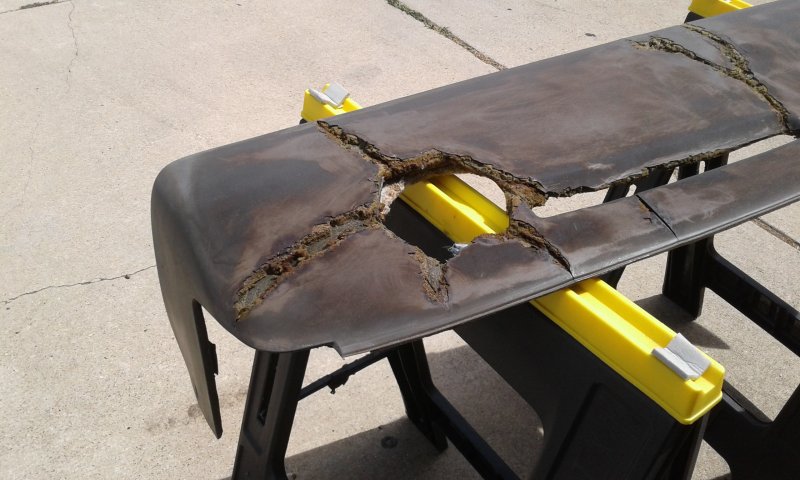
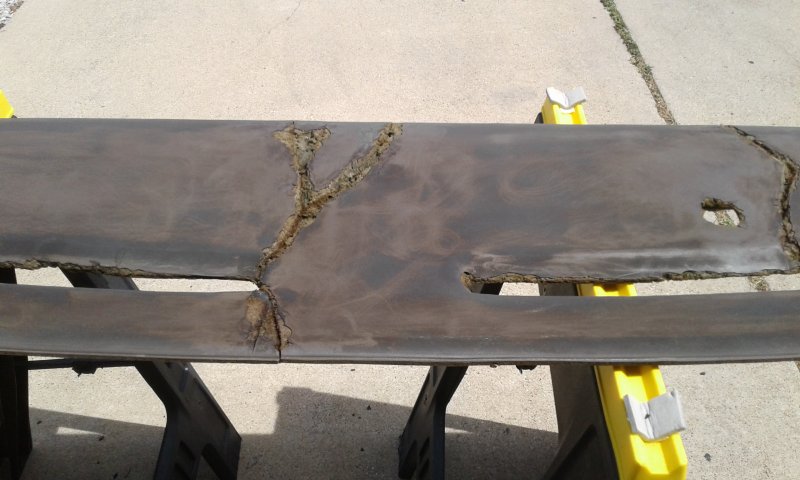
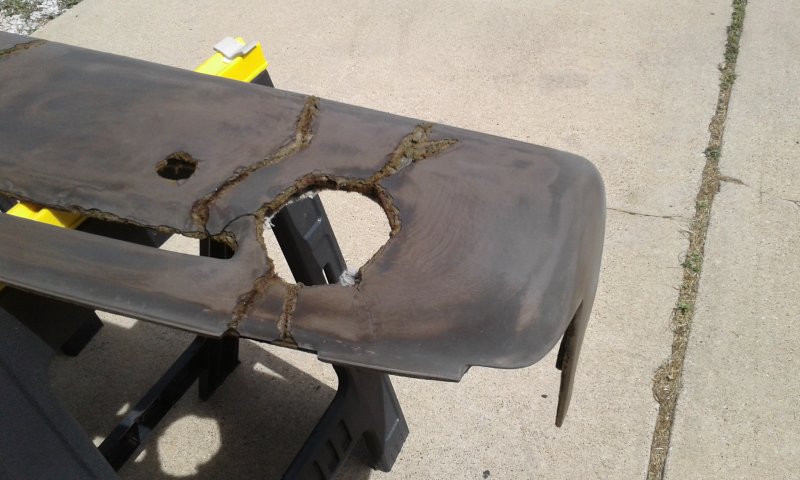
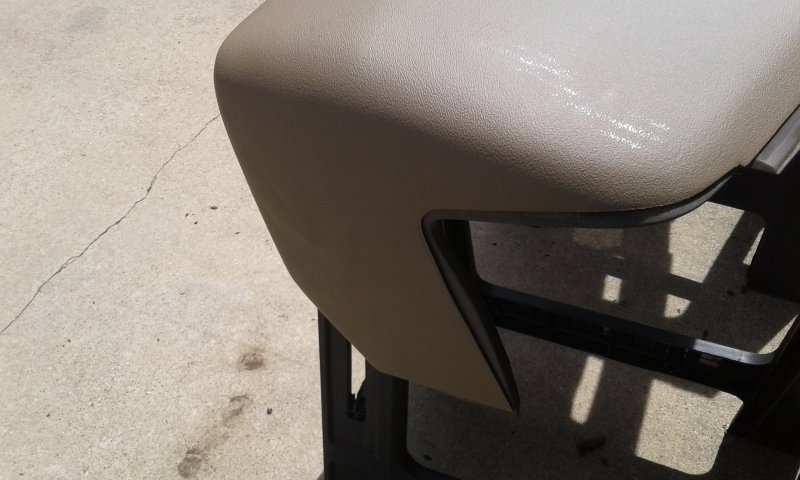
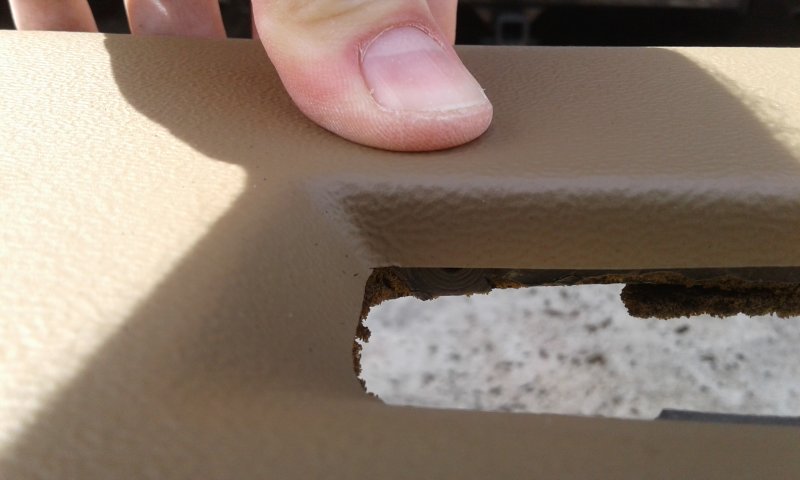
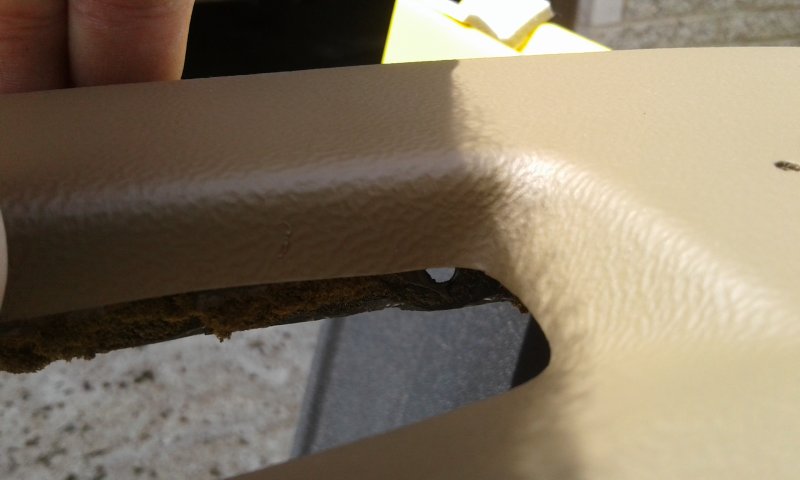
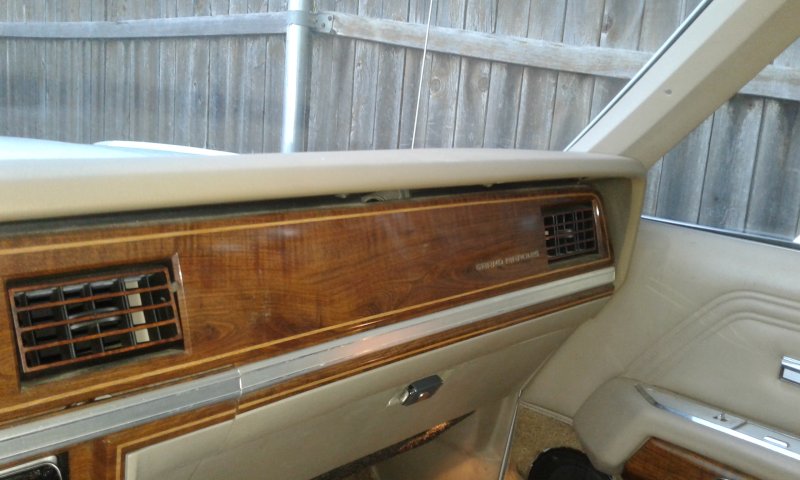
This is the install on my beater. My dash was very heavily cracked and as you can see from the pictures... after cutting down the raised cracked areas, my original dash shows it's true horrid shape. I went ahead and cut out the light sensor hole as that was the only grill left intact on my dash and I was sure the holes would not line up.
Coverlay's official instructions can be found here: http://coverlaymfg.com/p-10196-installation-guide.html
The instructions say to not use all the goop, but our dash is large enough that if you use a second step bead (recommended for our more porous/degraded pads) instead of the smallest bead on the tip, you will use the whole tube.
And now to the pictures.
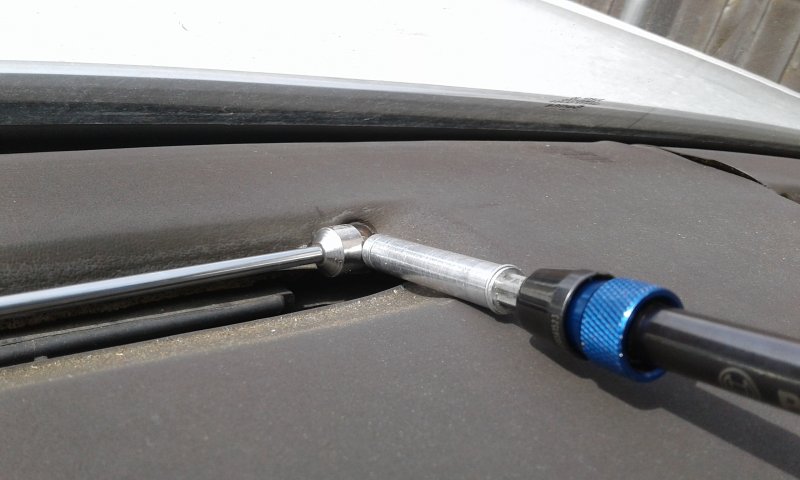
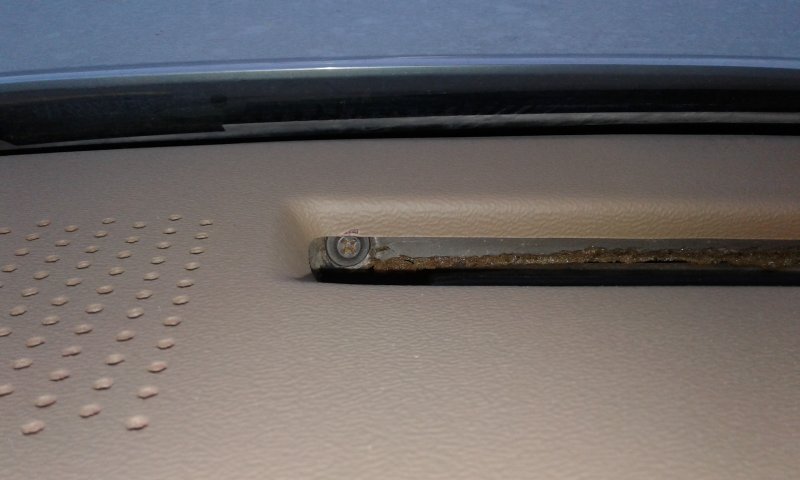
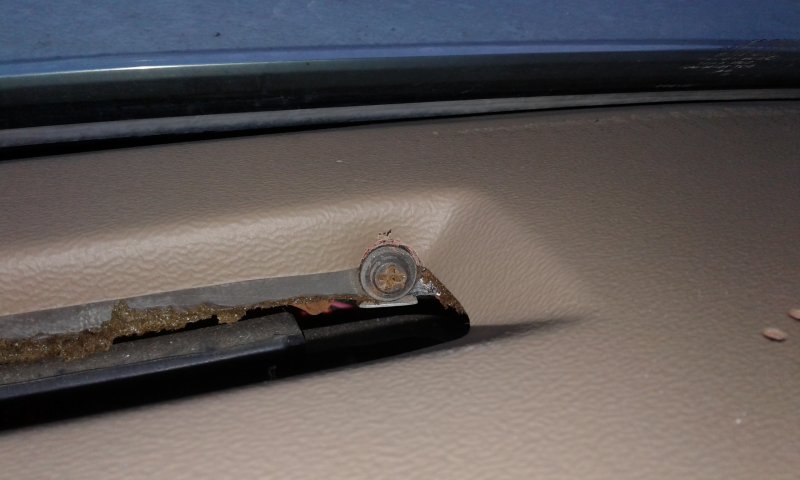
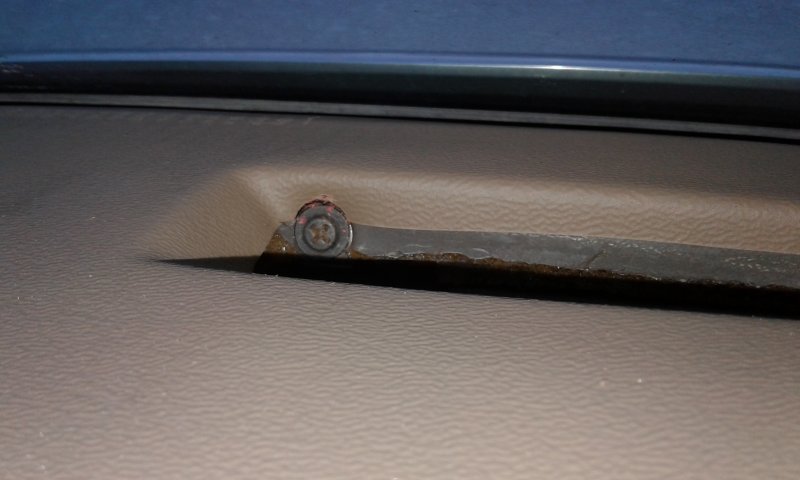
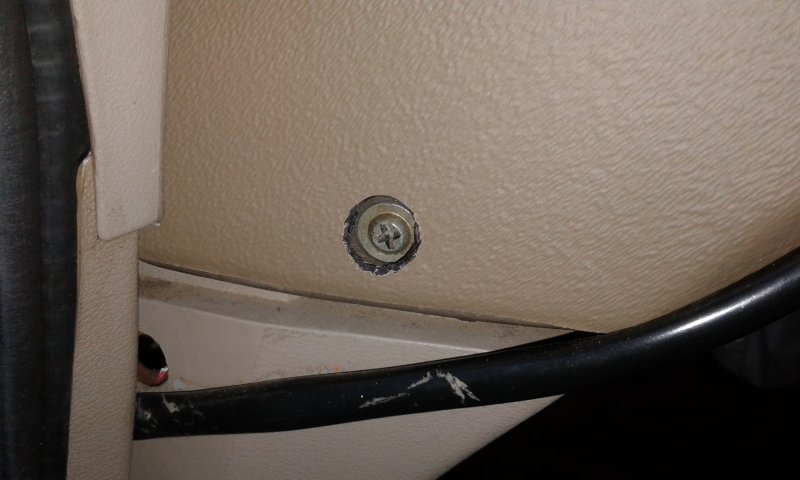
Remove the dash pad... I like to use a magnet on a stick to make sure I do NOT drop the screws down the vents.
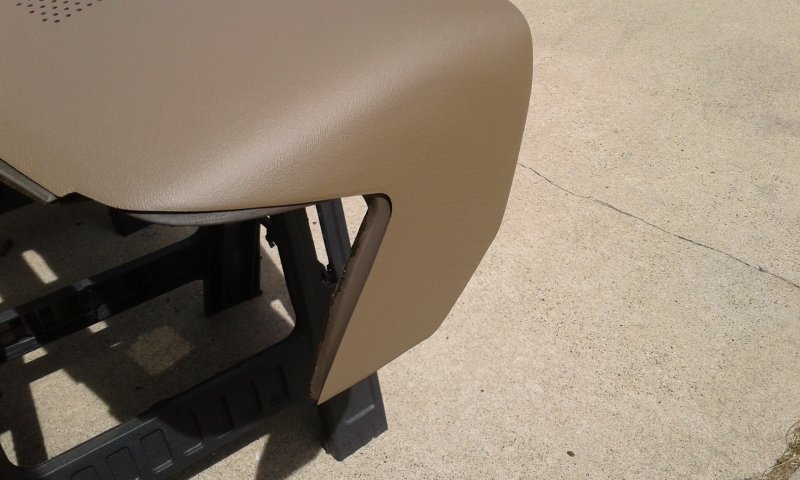
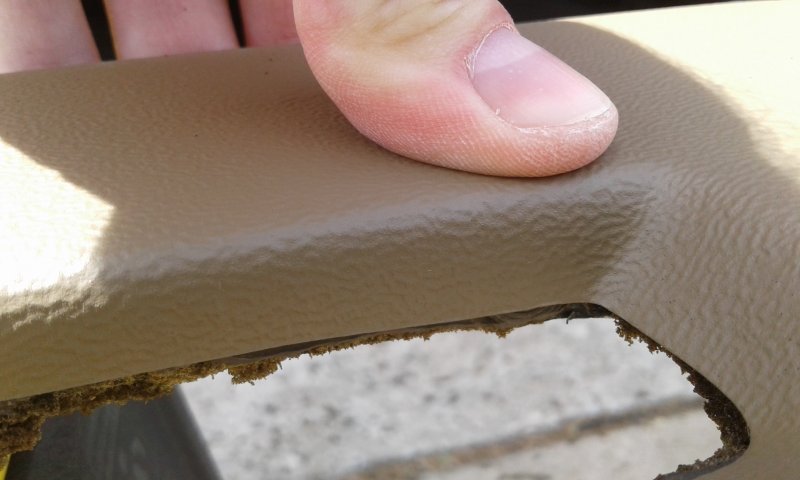
I cut down the all the cracked areas (well beat down with the blunt end of the utility knife and knocked off for the most part since it was so brittle) and cleaned the pad with Windex (use an ammonia based glass cleaner as instructed). It's NOT pretty.
Then I test fit the cap and drilled clearance holes for the screws that it covered.
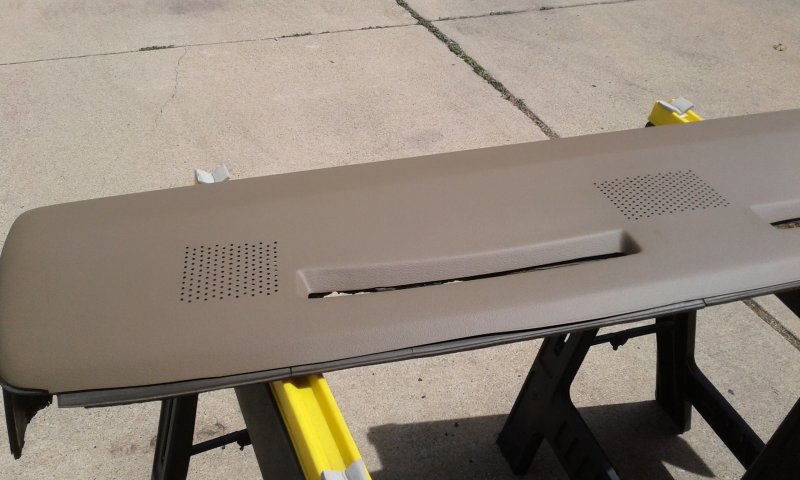
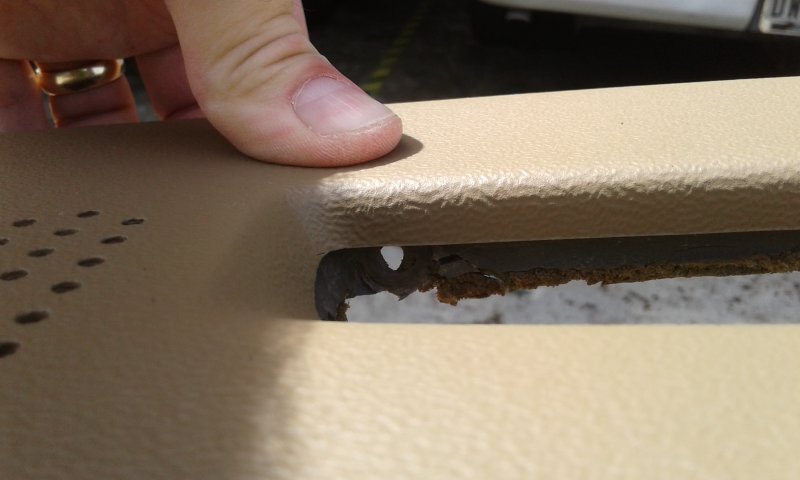
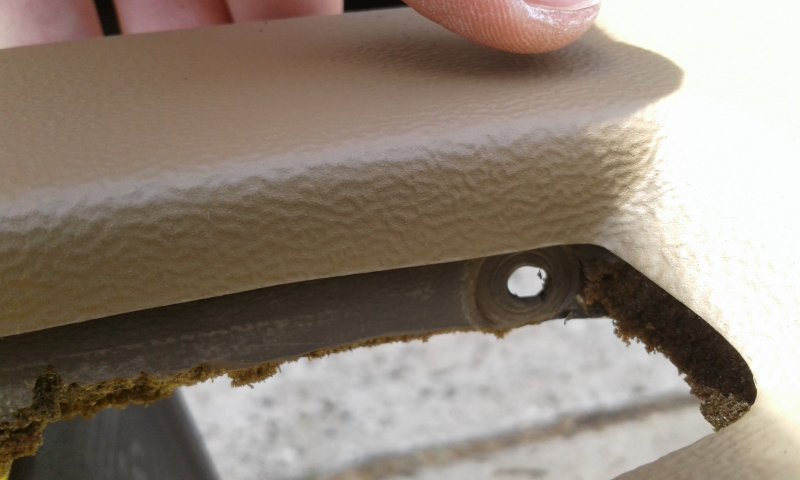
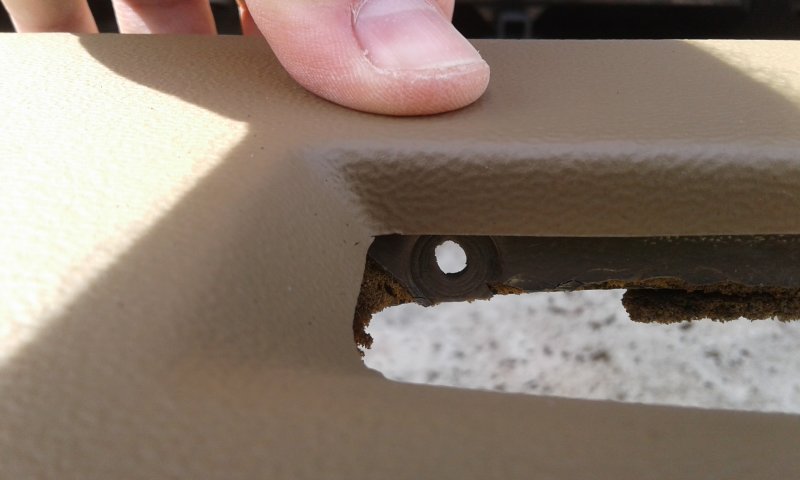

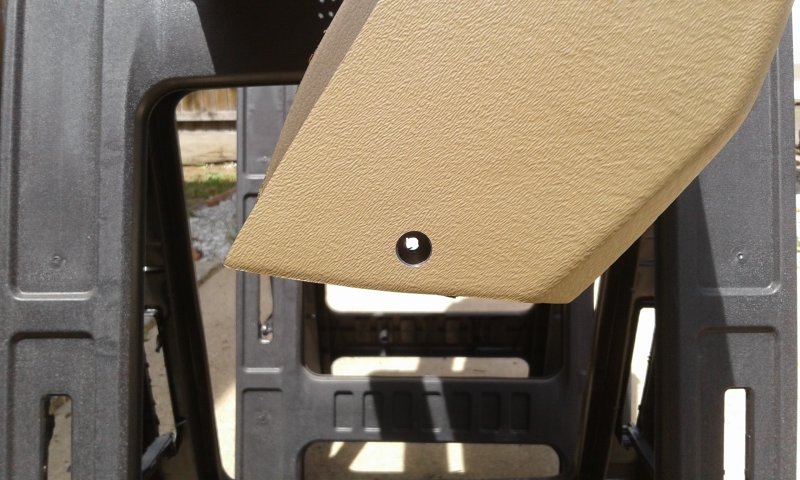
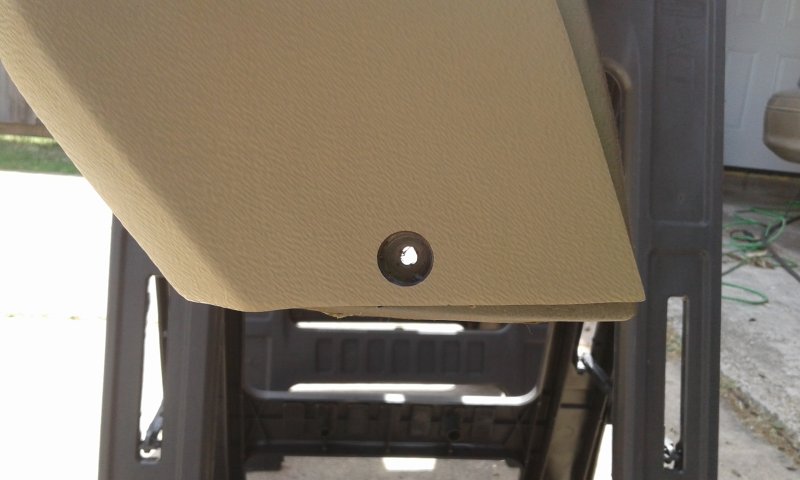
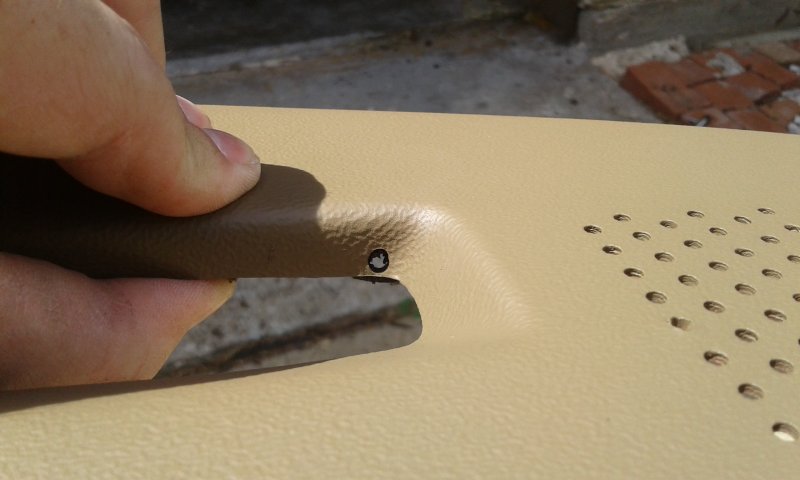
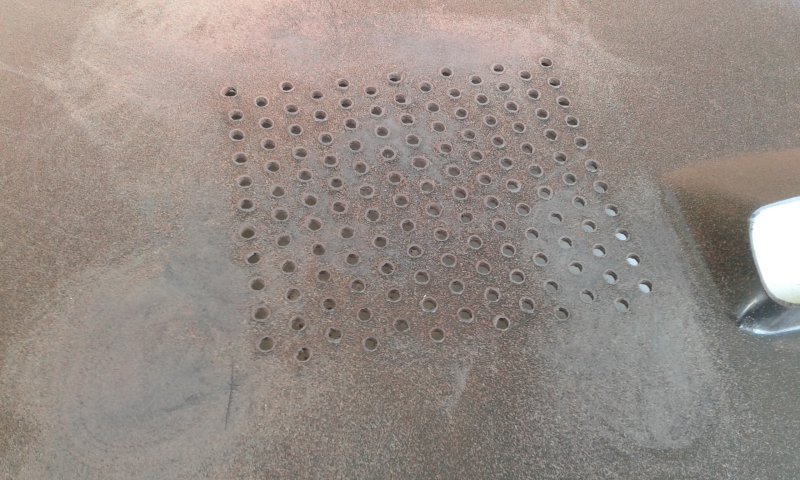
I also sanded down the drilling leftovers from the factory on the Coverlay cap and used my pocket knife to clean out any holes that the plastic folded down into.
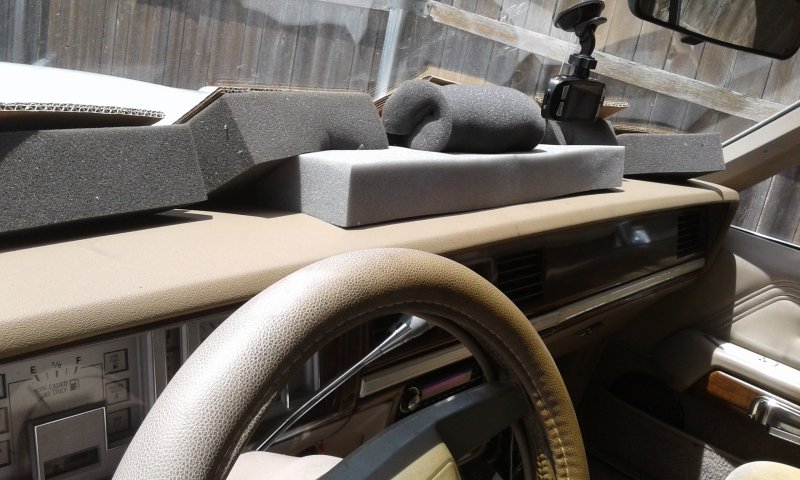
Then I cleaned up all my drilling mess and made sure the mating surfaces were still clean and applied the included sticky snot to the Coverlay cap as instructed. Then carefully massaged the cap into place. I had to work the sides a little to get them to stay put after pulling the main section tight. Loaded it back in the car and wedged it in place with the cardboard bracers from the Coverlay box (nice cardboard btw) between the windshield and the dash and lots of foam blocks I have on hand to fill in the main bulk area to make sure it sticks.

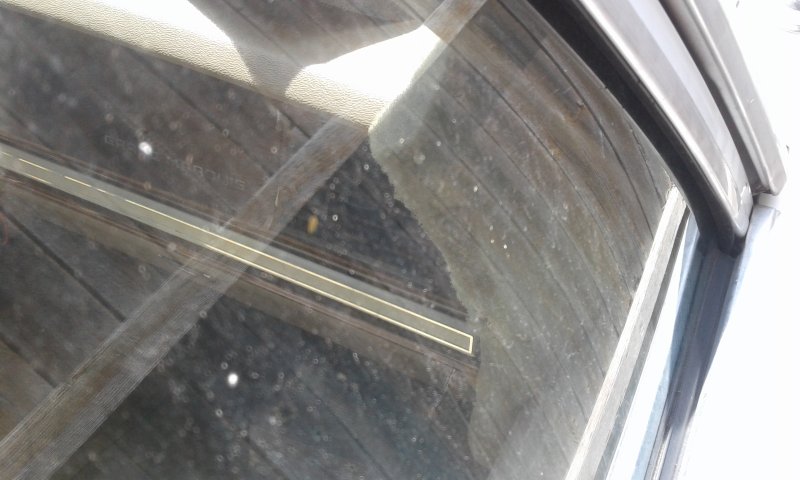
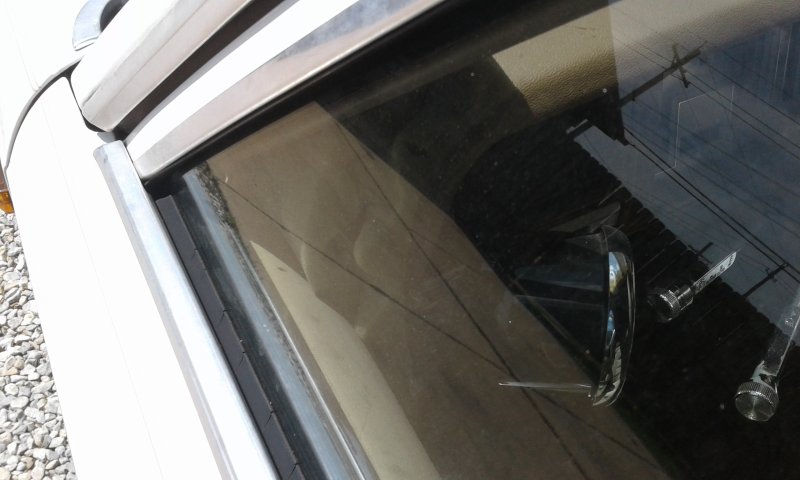
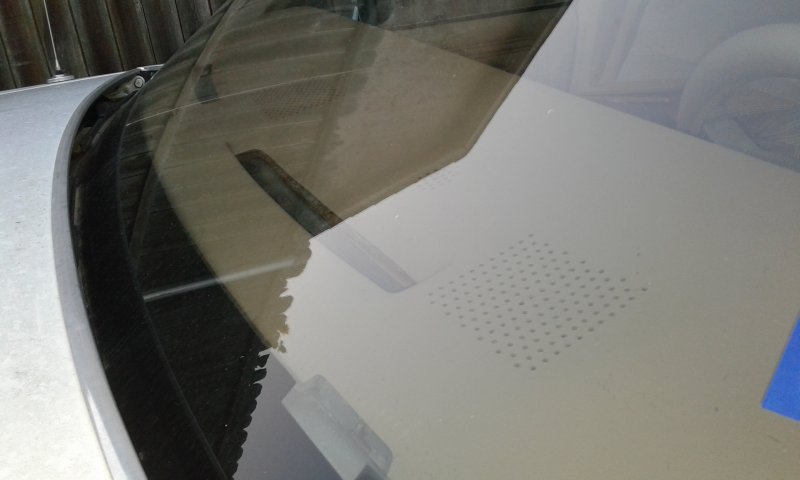
I also used some smaller pieces of foam to press the sides in. (You can kinda see it. The reflection off the glass is very bad.)
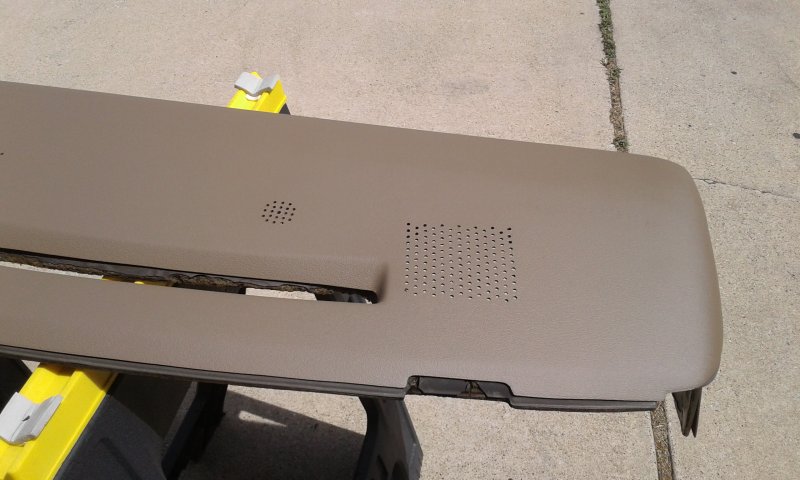
Final picture of the dash after curing is done.
Coverlay's official instructions can be found here: http://coverlaymfg.com/p-10196-installation-guide.html
The instructions say to not use all the goop, but our dash is large enough that if you use a second step bead (recommended for our more porous/degraded pads) instead of the smallest bead on the tip, you will use the whole tube.
And now to the pictures.
Remove the dash pad... I like to use a magnet on a stick to make sure I do NOT drop the screws down the vents.
I cut down the all the cracked areas (well beat down with the blunt end of the utility knife and knocked off for the most part since it was so brittle) and cleaned the pad with Windex (use an ammonia based glass cleaner as instructed). It's NOT pretty.
Then I test fit the cap and drilled clearance holes for the screws that it covered.
I also sanded down the drilling leftovers from the factory on the Coverlay cap and used my pocket knife to clean out any holes that the plastic folded down into.
Then I cleaned up all my drilling mess and made sure the mating surfaces were still clean and applied the included sticky snot to the Coverlay cap as instructed. Then carefully massaged the cap into place. I had to work the sides a little to get them to stay put after pulling the main section tight. Loaded it back in the car and wedged it in place with the cardboard bracers from the Coverlay box (nice cardboard btw) between the windshield and the dash and lots of foam blocks I have on hand to fill in the main bulk area to make sure it sticks.
I also used some smaller pieces of foam to press the sides in. (You can kinda see it. The reflection off the glass is very bad.)
Final picture of the dash after curing is done.


 send me a link so I can buy it
Comment