If this is your first visit, be sure to
check out the FAQ by clicking the
link above. You may have to register
before you can post: click the register link above to proceed. To start viewing messages,
select the forum that you want to visit from the selection below.
Please let us know if things are working or not. This is still somewhat a work in progress so don't be too surprised if things magically appear from one visit to the next.
Announcement
Collapse
No announcement yet.
Install Coverlay Dash Cap (79-89 boxen) [lots of pics]
Sly I'll be at your house in 2 or 3 week so u can do mine Mine is crack too just need to get new speakers since mine are busted on the dash send me a link so I can buy it
considering it takes about 2 hours plus 8 hours set time per dash... and it really helps to have a dash to attach it to for proper shape. That would raise the cost a LOT.
yeah... the way this one sits... even if the sticky only sticks in a few spots... the one screw on the right side of the right vent will be enough to hold it in place.
Looks like it came out alright. For all the bitching and moaning you hear from 'failed' installs, looks like, like everything else in life, just a matter of prepping it.
Holes are drilled and then it's painted. The core is BLACK. Since I drilled holes, you can see the black. The screws cover it up top and the sides aren't seen except when the doors are open. The cover didn't split when I tightened the screws, but it did bend. I'll take pics of that. This color is "light brown". I thought it was a darker color, but apparently that's the bad lighting in my den.
Nice, really nice. Looking forward to the final results.
I like your idea of using the magnet while removing the vent screws. I usually sneak my free hand down there to retrieve the screws but one once did escape my grasp and fall. Luckily I used a magnet and fished it down the vent and did come up with it. I was sweating bullets the whole time.
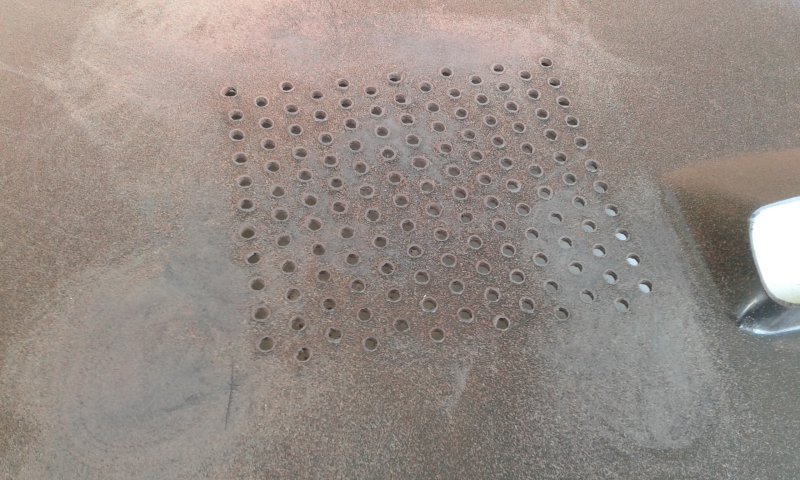
Does it look like the panel is colored after all of the factory holes are drilled or before and then all holes are drilled?
The rectangular/square drilled holes for the speakers kinda bother me and was wondering if one was to create a template and carefully drill a bunch of more little holes to create a rounder drilled hole area without a fear of causing unsightly marks/un-painted areas. (looking at the side view where you clearanced the cover for the side screws kinda leads me to believe I may see a black hole if I were to drill out any more holes..looking at your close ups of the existing vents kinda tells me its painted after the holes are drilled)
Did the cover split when you tightened the screws up by the vents?
The texture looks really nice on the cover and may go this route once the crack on my dash creep past the existing dash mat I am running. It looks like a good option.
Finally what color did you purchase? I like it a lot! I see on there website they have a lot of colors to choose from.
Install Coverlay Dash Cap (79-89 boxen) [lots of pics]
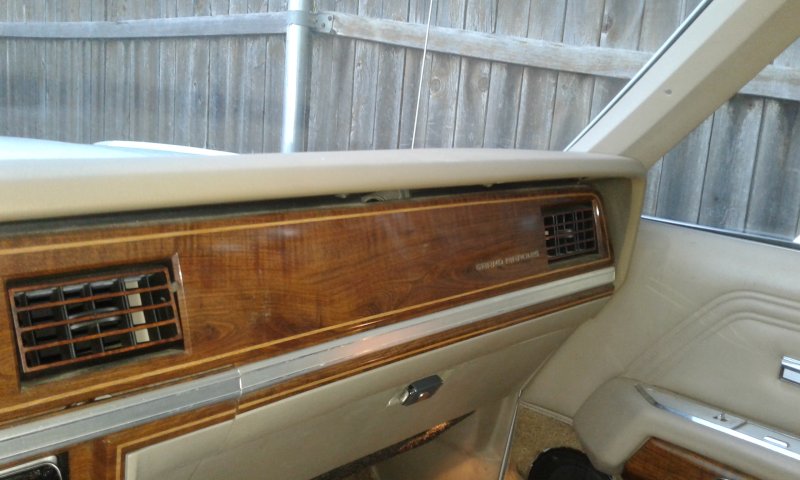
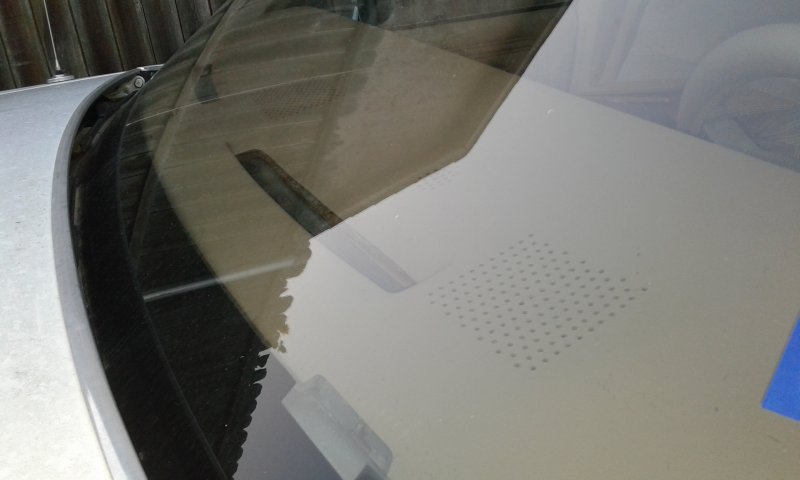
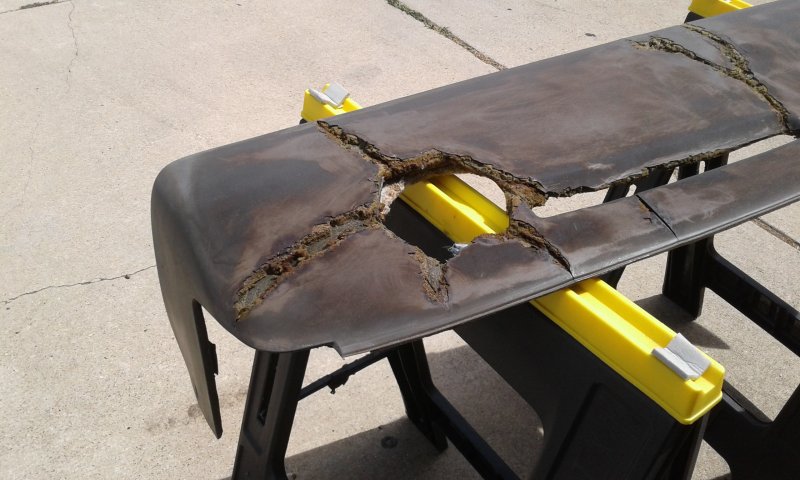
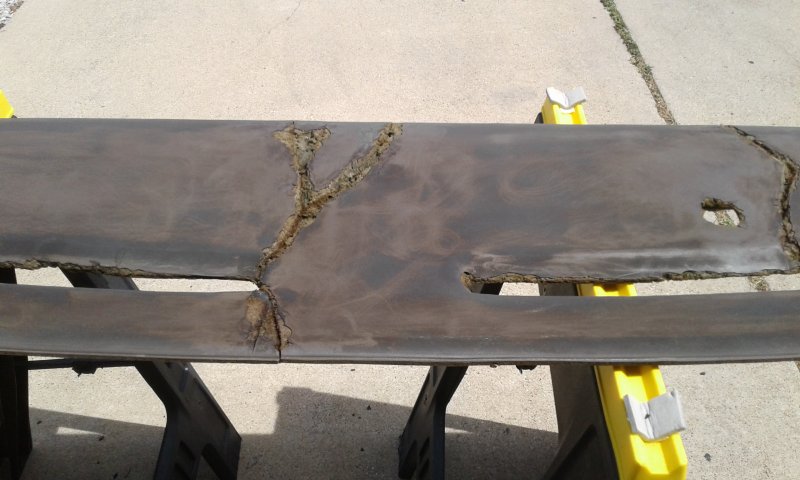
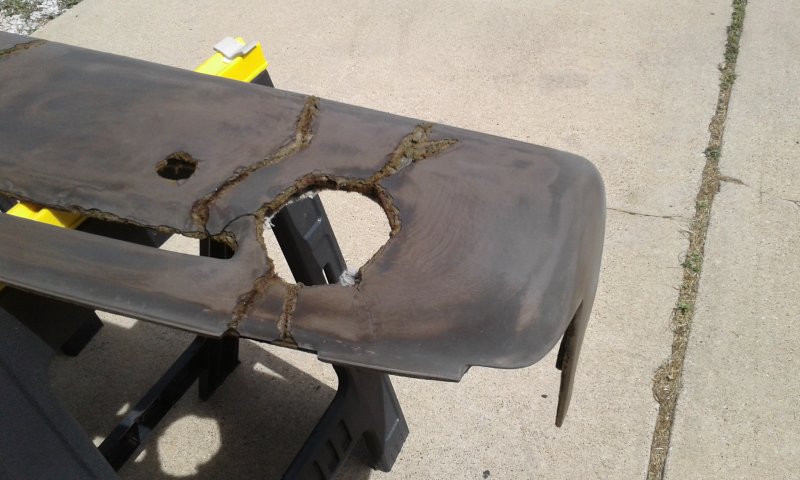
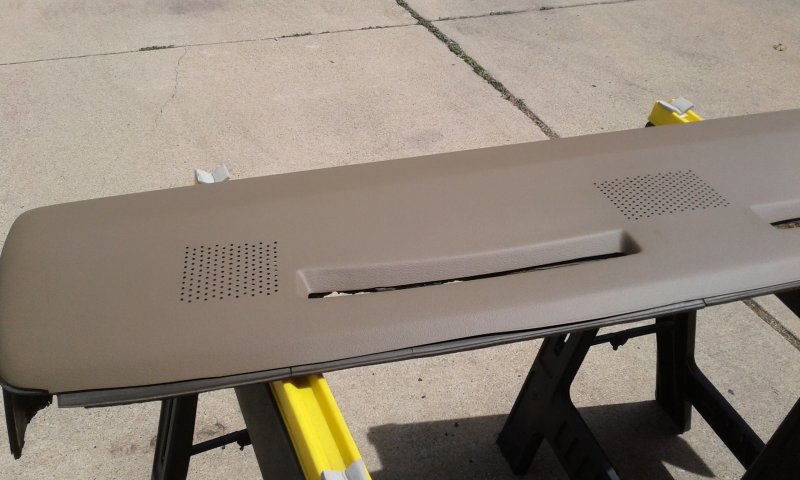
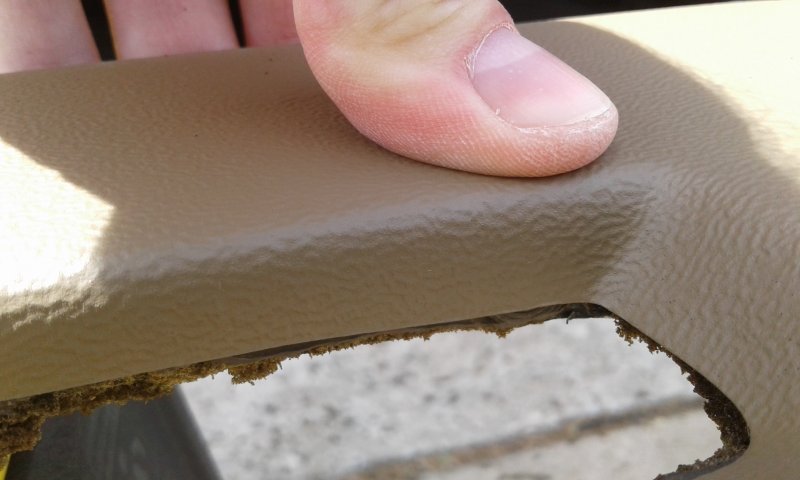
This is the install on my beater. My dash was very heavily cracked and as you can see from the pictures... after cutting down the raised cracked areas, my original dash shows it's true horrid shape. I went ahead and cut out the light sensor hole as that was the only grill left intact on my dash and I was sure the holes would not line up.
The instructions say to not use all the goop, but our dash is large enough that if you use a second step bead (recommended for our more porous/degraded pads) instead of the smallest bead on the tip, you will use the whole tube.
And now to the pictures.
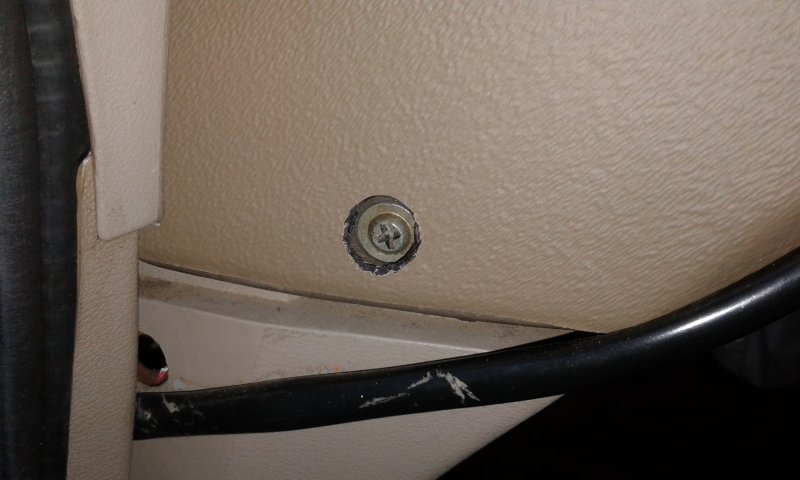
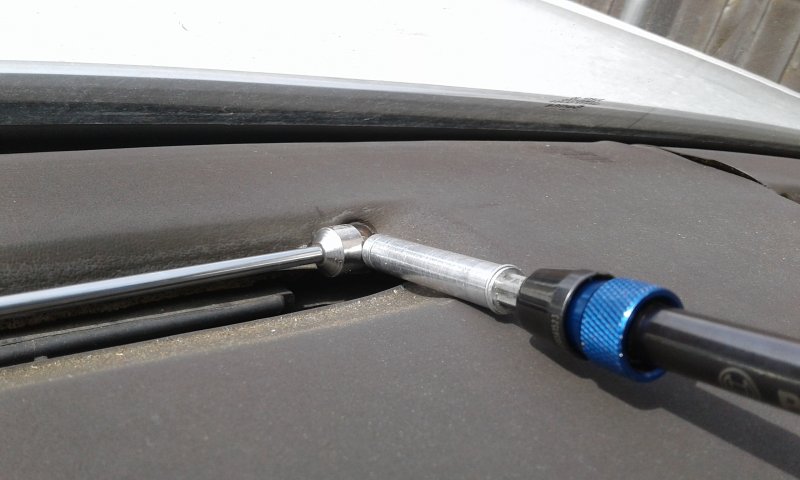
Remove the dash pad... I like to use a magnet on a stick to make sure I do NOT drop the screws down the vents.
I cut down the all the cracked areas (well beat down with the blunt end of the utility knife and knocked off for the most part since it was so brittle) and cleaned the pad with Windex (use an ammonia based glass cleaner as instructed). It's NOT pretty.
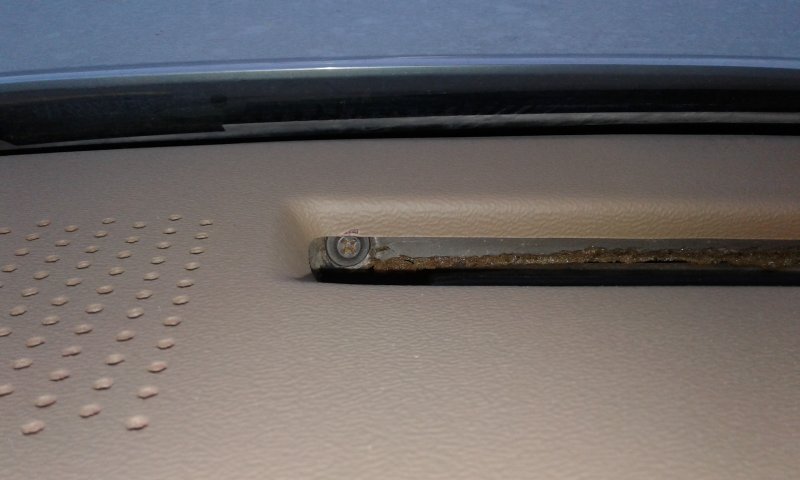
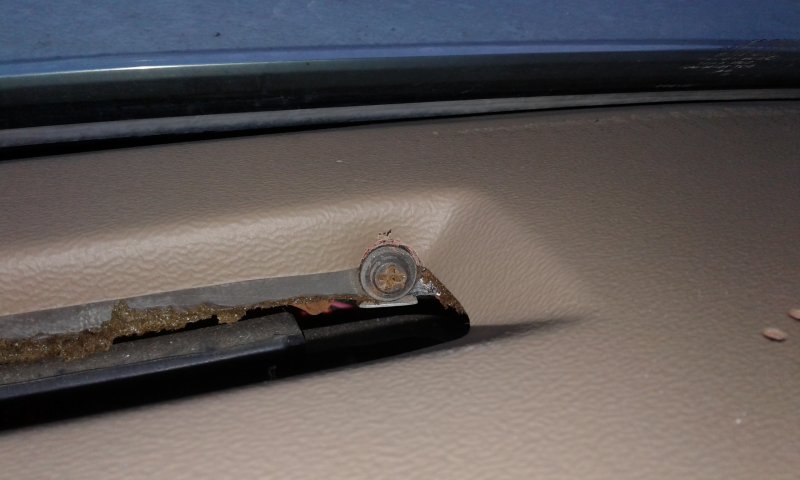
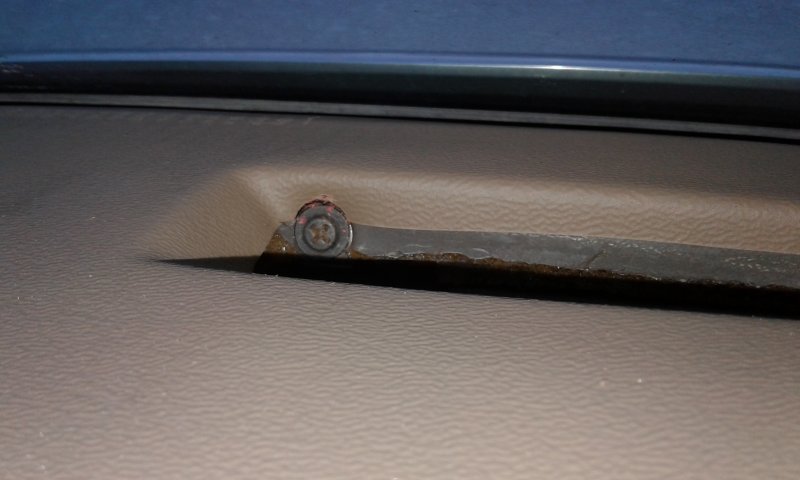
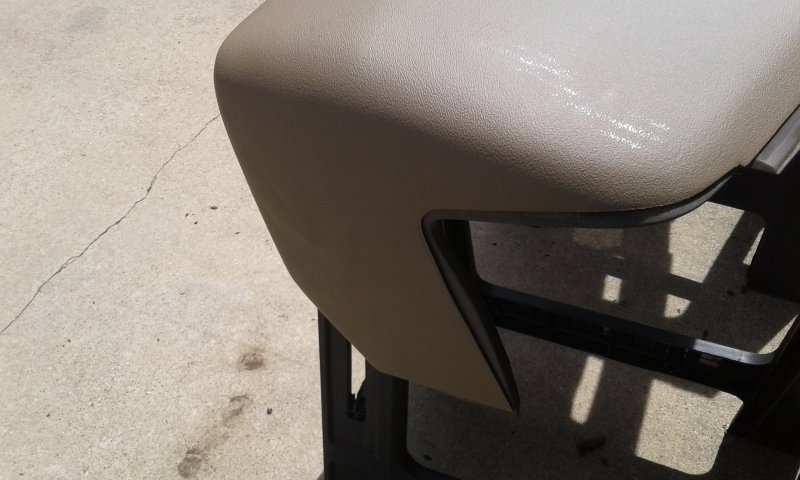
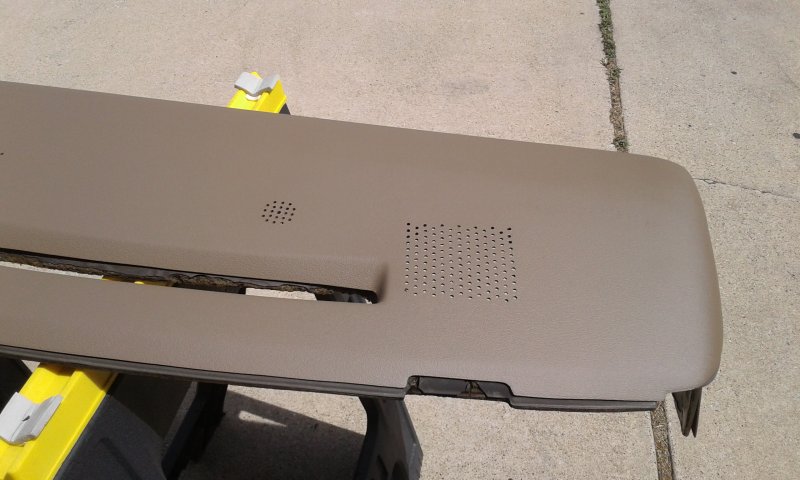
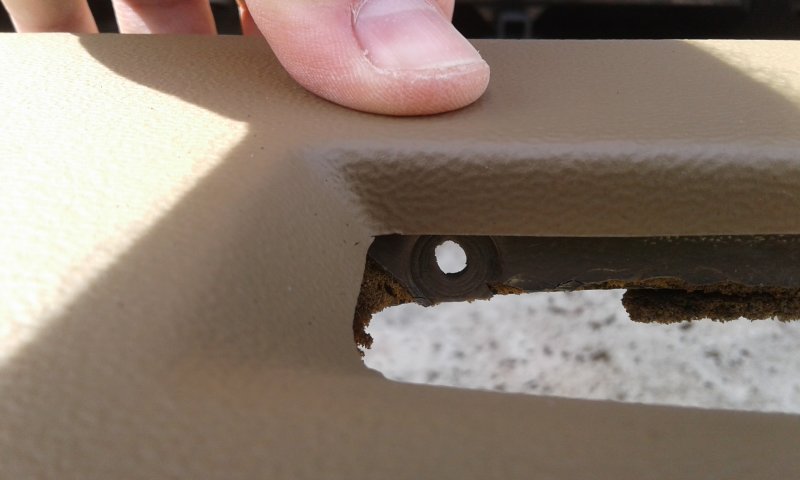
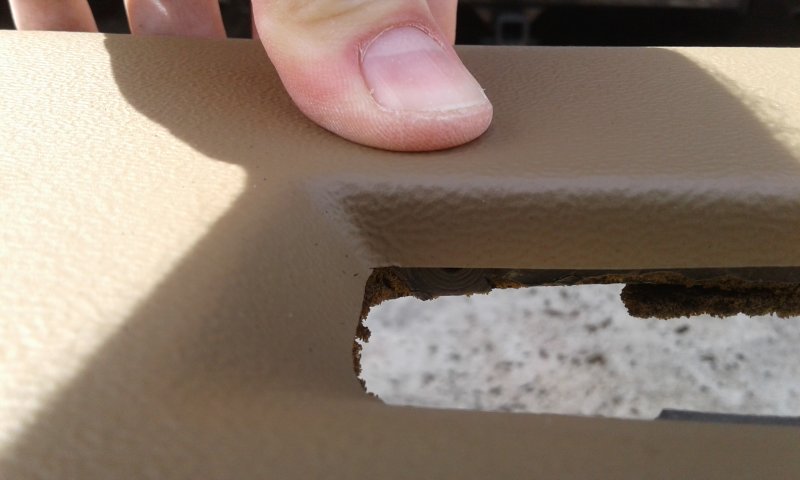
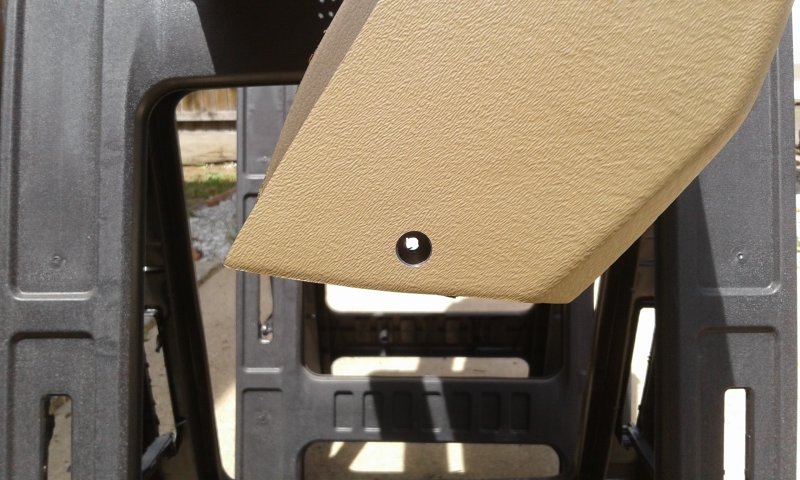
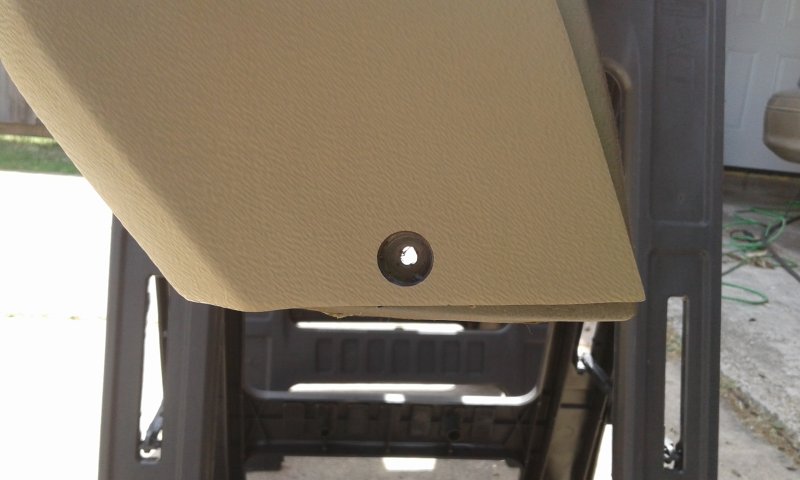
Then I test fit the cap and drilled clearance holes for the screws that it covered.
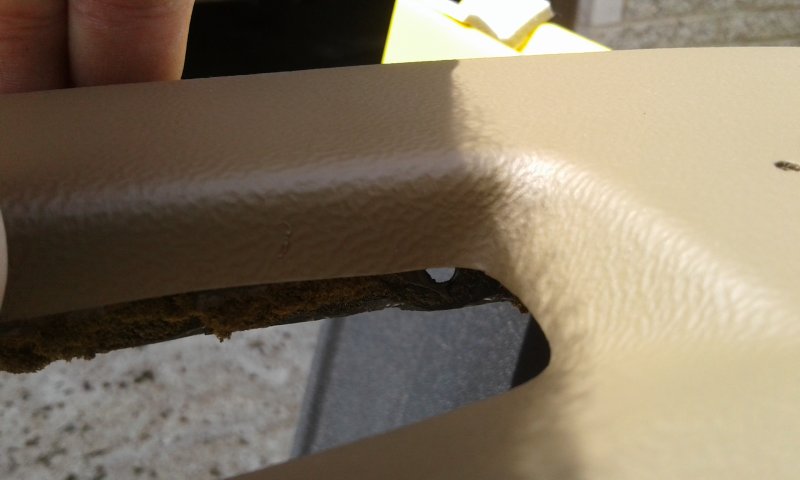
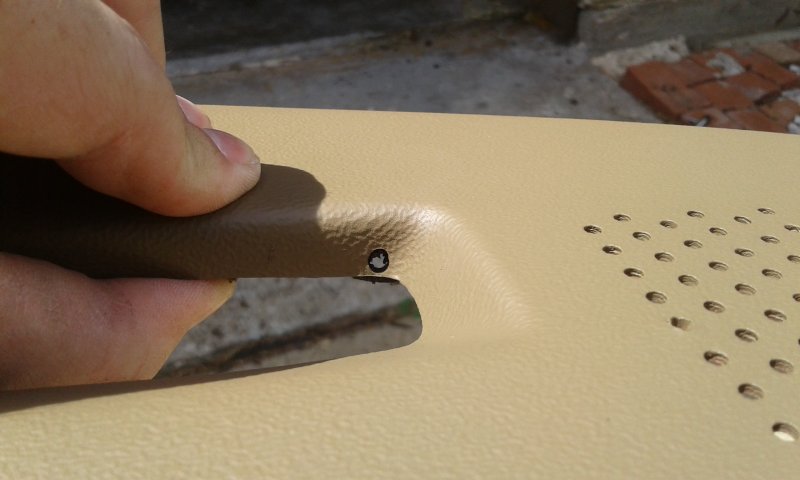
I also sanded down the drilling leftovers from the factory on the Coverlay cap and used my pocket knife to clean out any holes that the plastic folded down into.
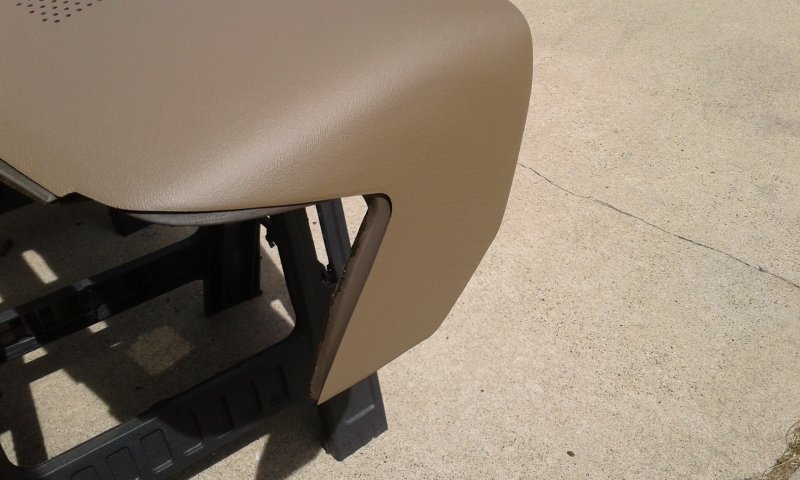
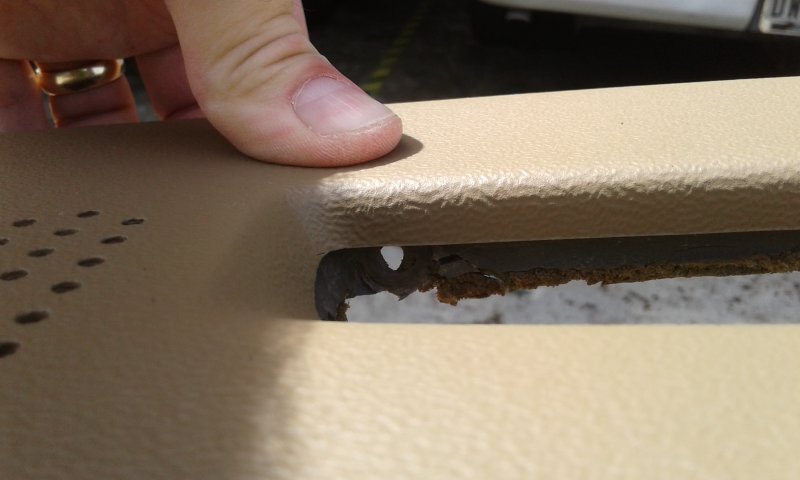
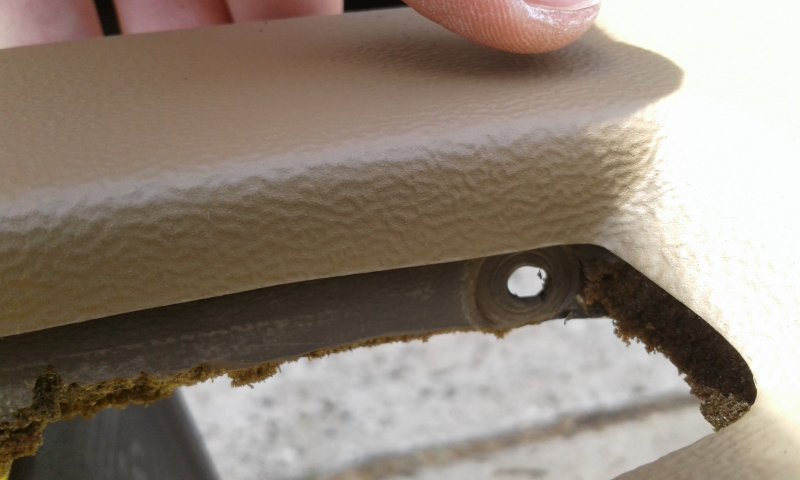
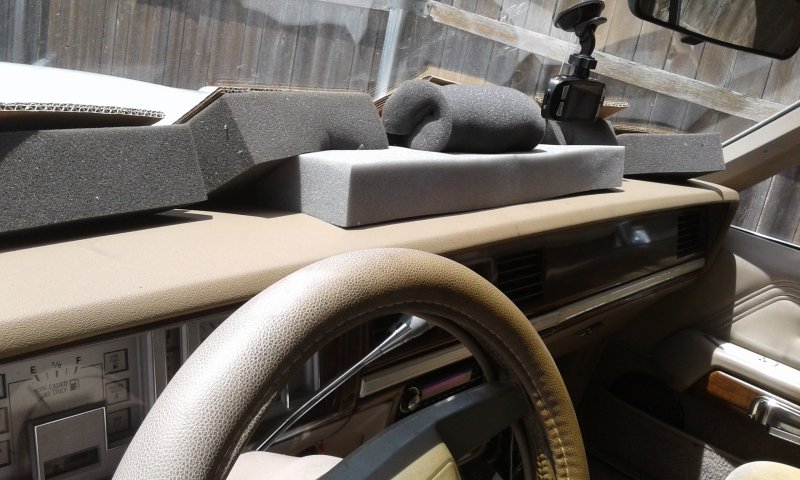
Then I cleaned up all my drilling mess and made sure the mating surfaces were still clean and applied the included sticky snot to the Coverlay cap as instructed. Then carefully massaged the cap into place. I had to work the sides a little to get them to stay put after pulling the main section tight. Loaded it back in the car and wedged it in place with the cardboard bracers from the Coverlay box (nice cardboard btw) between the windshield and the dash and lots of foam blocks I have on hand to fill in the main bulk area to make sure it sticks.
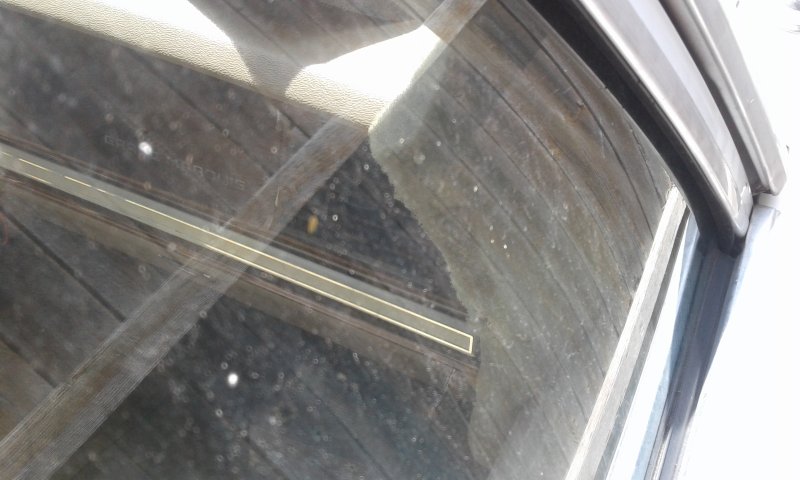
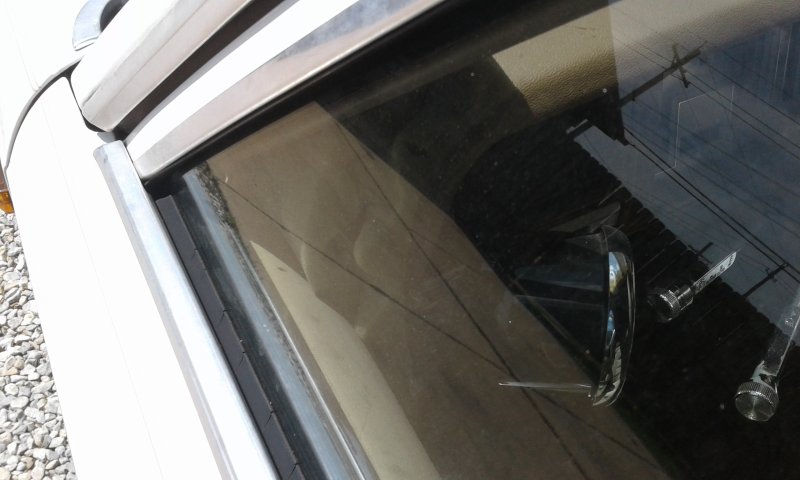
I also used some smaller pieces of foam to press the sides in. (You can kinda see it. The reflection off the glass is very bad.)

 send me a link so I can buy it


Leave a comment: